


When wiring and installing LED strip lights, it’s essential to follow the correct procedures to ensure proper function, safety, and longevity. Below is a comprehensive guide to help you with the installation process.
1. Power Connection Method
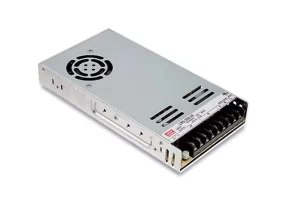
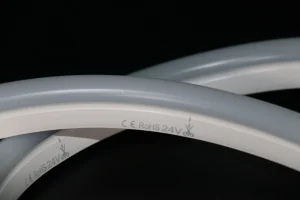
- Voltage Requirement: Most LED strip lights operate on a DC 12V voltage, so you’ll need a switching power supply. Choose a power supply based on the total wattage and length of the LED strips.
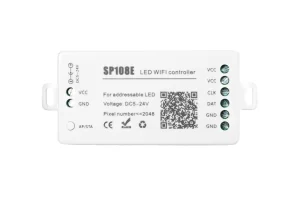
- Centralized Power Supply: If you have multiple strips, you can opt for a larger, centralized power supply to power all the strips in parallel. This ensures a consistent power source but may limit the control of individual strips (such as turning them on/off independently).
- Wiring Tip: Ensure the wire gauge is adequate for the total length of strips connected. If necessary, extend the wires to maintain good power distribution.
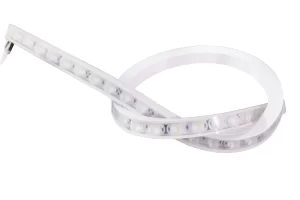
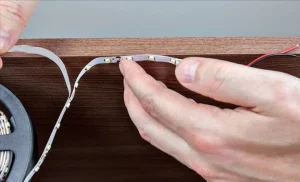
2. Cutting the LED Strip
- Cutting Location: LED strips have designated “scissors” marks where they can be safely cut. Cutting outside these marks can result in sections of the strip not lighting up.
- Precaution: Always double-check the scissor marks before cutting and avoid cutting through connected components.
3. Connection Distance Considerations
- Maximum Length:
- For 3528 series LED strips, the maximum connection length is around 20 meters.
- For 5050 series LED strips, the maximum length is typically 15 meters.
Exceeding the maximum recommended length may cause overheating, affecting the LED strips’ lifespan. Ensure you follow the manufacturer’s guidelines regarding maximum installation lengths.
4. Installation Tips
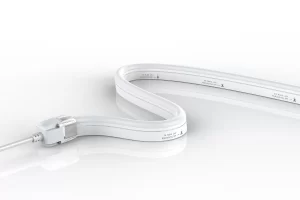
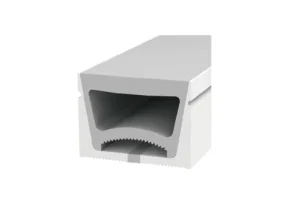
- Indoor Installation:
- LED strips for indoor use typically come with a self-adhesive 3M double-sided tape. Simply peel off the protective layer and stick the strip onto a clean, flat surface.
- Press the strip firmly to ensure a strong bond.
- Outdoor Installation:
- Outdoor installations require extra care due to exposure to elements like rain and wind. Using just adhesive tape may not be enough to secure the strips long-term.
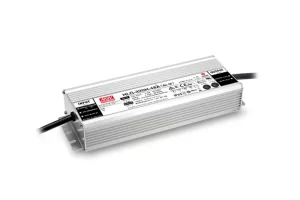
- Waterproofing: Use waterproof glue at connection points to ensure they stay secure and functional. Additionally, outdoor strips may be fixed with clips or card slots, and the plug should be installed indoors or in a weatherproof enclosure to prevent damage.
- Outdoor Fixing: For long-lasting outdoor installation, opt for clip or screw-in solutions. Using a card slot fixing method will prevent the strip from detaching over time. Additionally, using weather-resistant connectors and ensuring waterproofing of the power supply is key to maintaining durability.
5. General Safety and Maintenance
- Avoid Overloading: Overloading the strip can lead to overheating and early failure. Always adhere to the recommended maximum connection length for your specific LED strip model.
- Regular Checks: Periodically inspect your LED strips for any signs of wear, especially in outdoor installations, to ensure they continue functioning correctly and safely.
By following these steps, you can ensure your LED strip lights are wired and installed correctly, providing safe and efficient lighting for your space.